You are using an out of date browser. It may not display this or other websites correctly.
You should upgrade or use an alternative browser.
You should upgrade or use an alternative browser.


Cheers dude! Better than I could achieve at this point so that's much appreciated
So if you want to try my method...
Setup
-Use photoshop.
-Ensure a picture meets all of the criteria in my other thread they pinned.
-Copy the photo and open a new photoshop file. Paste.
-Make the image size bigger if needed.
-Select the area you wanna xray. Try to avoid any hair, object of a different thickness(belts, metal, etc) Save it. From here on out everything we do is in the selection.
-Duplicate layer. Use this as a reference image and to test EXTREME(20%+) burns/dodging.
Exploring
-Use levels and exposure filters to get an idea of what's where and see if there is anything you can reveal. Play with the sliders a LOT. We're looking for outlines of what we're trying to see.
-Mark outlines on a new layer.
Leveling the playing field
-With our exposure and level layers off go into shadow/highlight and play with the sliders. Trying to get the outlines we saw earlier to be visible and tone down any excessive dark or light areas.
-Use BURN HIGHLIGHTS and DODGE SHADOWS on 1-5% levels to further get colors consistent.
-Do a brightness/contrast layer, increase contrast. Merge that layer and our image layer. We're going to start getting EXCESSIVE crazy colors and noise from the adjustments. THIS IS OK. We're trying to get contrast right now, we'll remove and fix the colors soon.
-When you're happy with knowing what's where you can start utilizing burn/dodge to clean things up and add contrast. HOW WE DO THIS IS You're going to burn MIDTONES on 1-5% AROUND the are you want to improve. If it's 65 pixels, use 100. Things aren't always where you think and this is the difference between drawing a picture you think looks nice and doing an xray. AFTER you have burned midtones, burn SHADOWS with 1-5% until it's DARKER THAN YOU WANT. Why? Because... DODGE MIDTONES 1-5% to take off the excess crap WE added to the image. We want only whats really there.
-Once your picture is cleaned up nicely it's time for last minute contouring. Dodge and burn to add/remove any last minute things that don't look right.
Fixing the color
-Make a new channel mix layer. Pick the one that make things the most consistent and give you the definition you want. Merge this layer with image.
-Use the eyedropper with a 11x11 or 31x31 sample to pick a spot of skin that's midrange.
-Depending on the image we're going to do a few different brushes.
- Lighten
- Darken
- Soft light
- Hard Light
- Overlay
-After a few passes of the brush you will probaby need to burn/dodge to get your contrast of colors back to where you want them.
-When you feel you're close use Replace color and Match color to close the gap. If neither of these is working out for you try selective color and focus mainly on neutral and your primary color.
Last touches
-To get the image looking more realistic lets do some final passes of bruning and dodging. Dodge highlights and burn shadows. Use a big brush and 1-3%. Depending on whats needed, either burn or dodge midtones to match the surrounding area.
If any kind kind person wants to have a crack at these that would be amazing! I do them myself but having seen other efforts....u guys can do such much better and have skills for touching it up that I dont!
View attachment 792001View attachment 792002View attachment 792003
Also not sure I'm even uploading in the correct style.....shows my ineptitude. But please accept my gratitude instead!
I think every single image you sent could actually be done.
You.
I like you. xD
Attachments
Doesn't work i'm afraidOr this
If any kind kind person wants to have a crack at these that would be amazing! I do them myself but having seen other efforts....u guys can do such much better and have skills for touching it up that I dont!
View attachment 792001View attachment 792002View attachment 792003
Also not sure I'm even uploading in the correct style.....shows my ineptitude. But please accept my gratitude instead!
I think this is gonna be that last one out of these. Just for not wasting my time =D
Attachments


Leedsboy1209
New Member
Thanks mateHere ya go
Can anyone try this one? Cheers
Attachments

dontworryaboutthat
New Member

anyone do this ?
View attachment 793145
anyone do this ?
Attachments
Leedsboy1209
New Member

Hannah smartley
New Member
PleeeeeeeeseView attachment 792405can any one do this I tried and failed its sooooo hard
pratik kakade
New Member

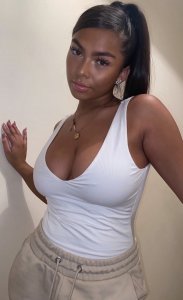
Xray her please!
pratik kakade
New Member

And Her also!!
Jay jack
Member
Insta?View attachment 793171c
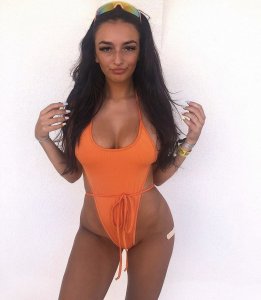
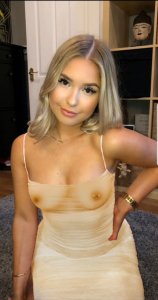
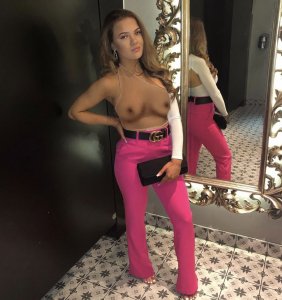
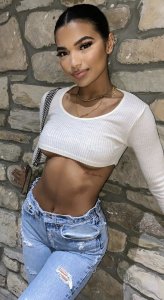
View attachment 793172View attachment 793173View attachment 793174View attachment 793175could anyone have a crack at these? Please and thanks in advance
| Thread starter | Similar threads | Forum | Replies | Date |
|---|---|---|---|---|
| T | OnlyFans Who’s got her, Several accts. AshleyRayCushman / Kylierayy / KylieXRay / Kylie Ray | OnlyFans | 0 | |
| S | Xray photoshop | Off-Topic (Photos, humor, dating, etc.) | 2 | |
| M | OnlyFans XXXRayOfSunshine | OnlyFans | 0 | |
| G | Alissa White Gluz - Metal Singer - Xray | Celebs Requests | 0 | |
| G | Alissa White Gluz - Metal Singer - Xray | Requests | 1 |

