You are using an out of date browser. It may not display this or other websites correctly.
You should upgrade or use an alternative browser.
You should upgrade or use an alternative browser.
Deep Nude Celebs ONLY
- Thread starter Yidarmy01
- Start date


LittleMouse1
Well-Known Member
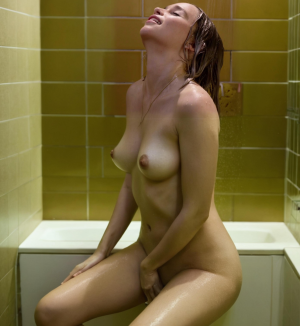
That second pic is really well done.Jessica Alba
absentababy
Well-Known Member


StableInfusion
Well-Known Member
Those nipples look very realisticAnne Winters
View attachment 2546199View attachment 2546200
Note: unlike my normal posts, I don't have a trained model for Anne yet. Just wanted to do this one real quick when I saw this photo. Used a merge of my other models.
StableInfusion
Well-Known Member
I've been looking for an inpainting model that does realistic wet skin for ages. Did you train this one? Is it based on SD1.5 or SDXL?
Turtleman69
Well-Known Member
If you're just pasting a real head onto other nude bodies (I don't know if those are AI or not) then it's not a deepnudeTried a few fake things
A deepnude is attempting to simulate what it would look like if you removed the clothes from a real photo, using AI inpainting.

| Thread starter | Similar threads | Forum | Replies | Date |
|---|---|---|---|---|
| F | what are the best free deepnude apps right now? | Deepfake Porn | 38 | |
| S | Taking Celeb deepnude request. Send me the photo, I will send you the picture | Fake Celebrity Nude and Deepfakes | 23 | |
| F | Best NSFW Deepfake and Deepnude Websites? | Deepfake Porn | 24 | |
| M | Deep Nude request | Fake Celebrity Nude and Deepfakes | 6 | |
| A | Free DeepNude | Deepfake Porn | 15 |

